This is a sponsored conversation written by me on behalf of Cricut . The opinions and text are all mine.
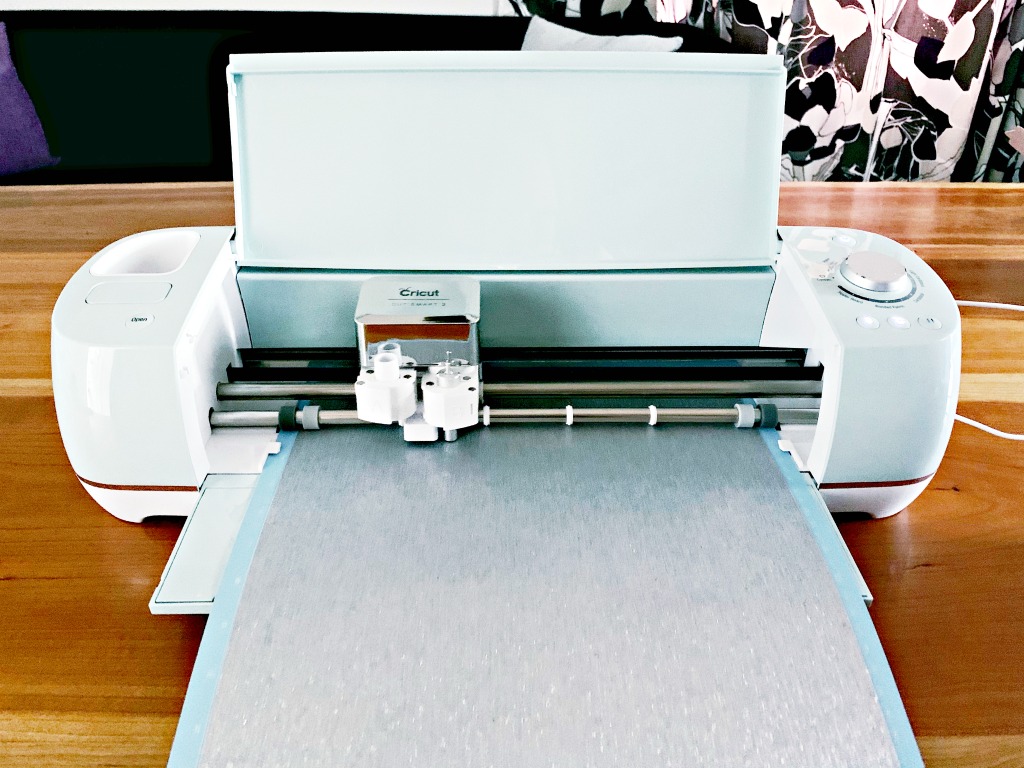
Christmas is literally around the corner (I’m still wrapping!!!) but what I find creeps up even quicker is New Years Eve! If you plan on hosting this year, and you’re thinking of going an eco-friendly route with your table settings, then you must check out these DIY New Years Eve napkins I made with my favourite toys (Cricut Explore Air 2 and EasyPress 2 machines). But first, in case you’re doing any last minute Christmas shopping, I want to tell you at least 5 reasons why I love my Cricut Explore Air 2. If you have someone crafty on your shopping list, I promise you this machine will not disappoint!
Reason#1: It cuts everything!
This is one of the biggest reasons why I love playing with this machine so much. It can cut glitter cardstock, it can cut vinyl, it can cut iron-on transfers, pretty much anything!
Reason#2: Design Space is easy to use!
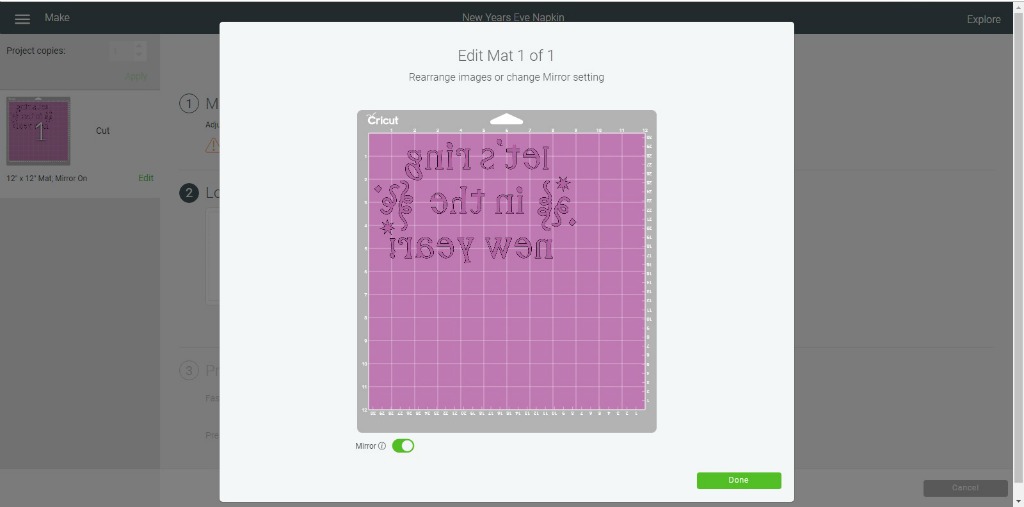
Cricut’s design space makes it easy to design your project and create it! What I also love is that, depending on what material you’re cutting, it will remind you how to load the material properly. For example if you’re creating an iron-on transfer, it will tell you to mirror your image and place the material with the shiny side facing down on your mat. These little reminders have saved me every.single.time.
Reason#3: It’s a fast cutting machine!
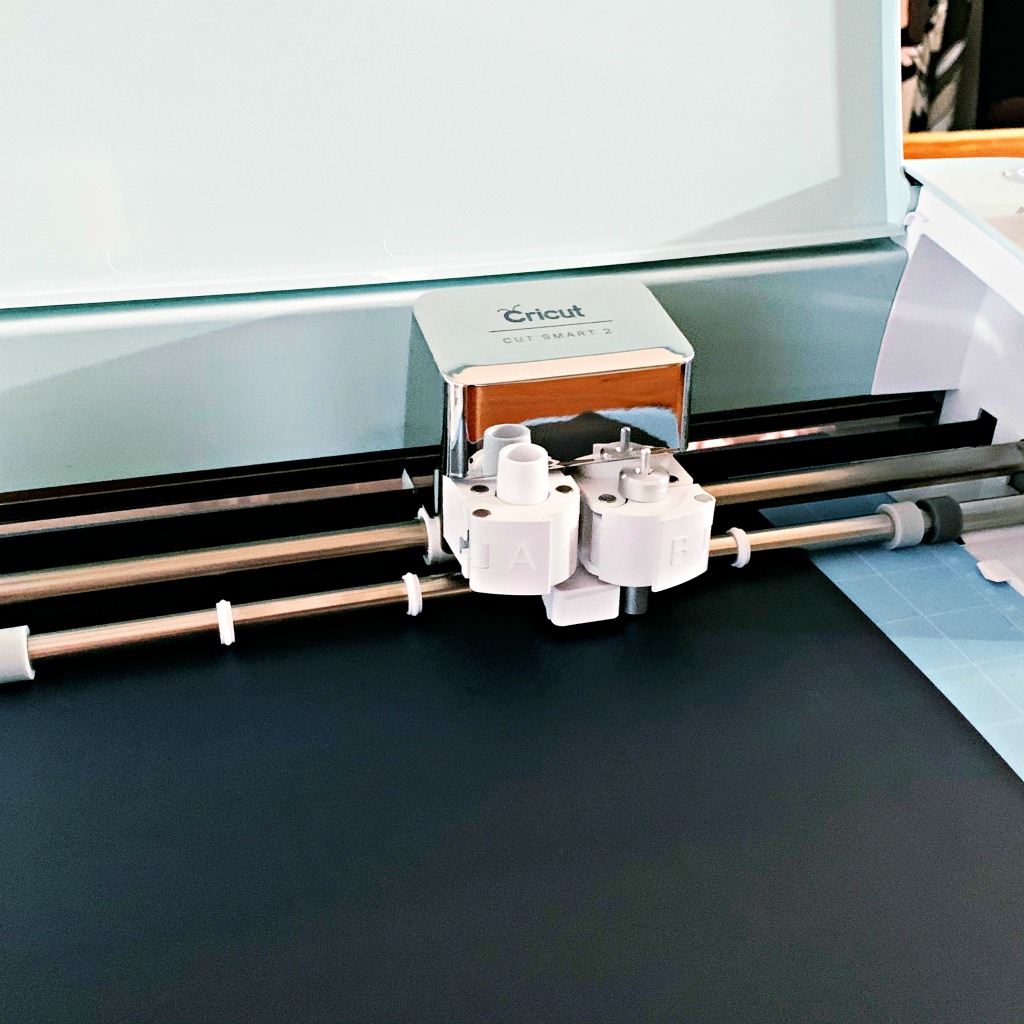
Every time I create a project with my Cricut , I’m amazed at how quickly this machine gets the job done! Case in point, the napkins I’m going to show you how to create down below. I set my machine up to cut out my iron-on transfer and it was done faster than me pouring a cup of coffee!
Reason#4: Creating a design is easy!
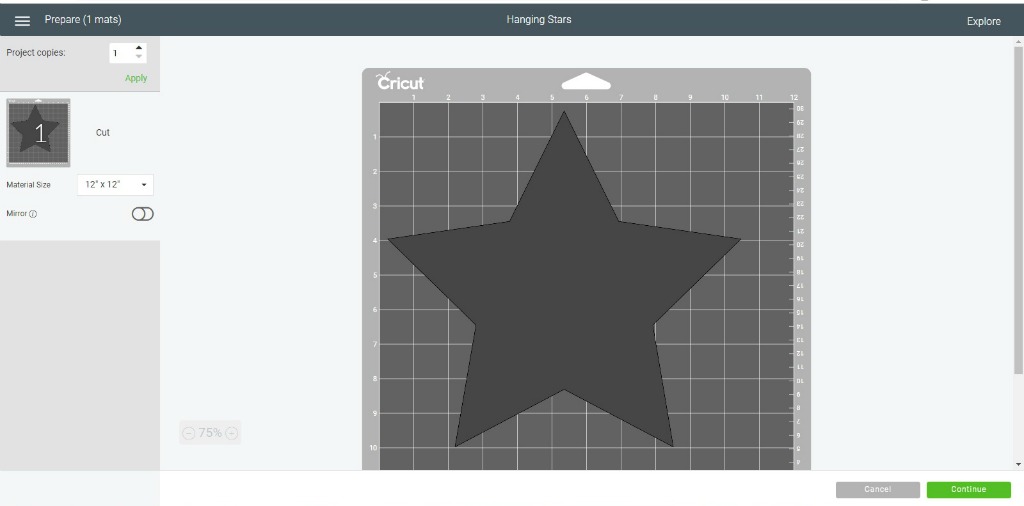
I’m no graphic artist so I’m forever grateful that Cricut has built in images, word plays and accessories that I can use in my projects instead of designing everything from scratch!
Reason#5: It’s portable and beautiful!
Ok this may be a shallow reason to love a machine so much but it really is a beautiful machine that is quite portable! I use it in my craft space, in my dining room, on the floor, etc. It doesn’t take much space and the design is smart and sleek – two important features for technology in my opinion!
DIY New Years Eve Napkins
Now I cheated a bit and I personalized some IKEA napkins but you could grab some light cotton or linen and make the napkins first before personalizing them!
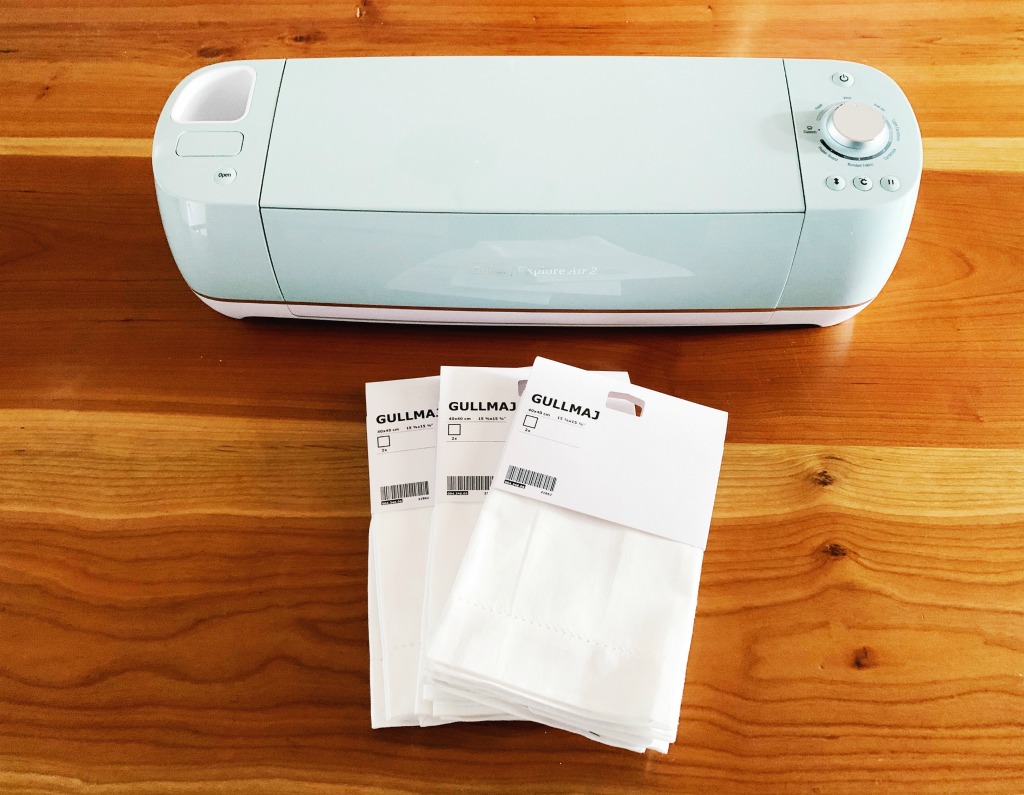
Design your Iron-On Transfer
Cricut is fantastic in that it offers you a design space that has pre-loaded images and sayings that you can use to customize your project. In this case I used one of their fonts and some confetti images they had. (Psst…click this link to use the same image I used for my napkins!)
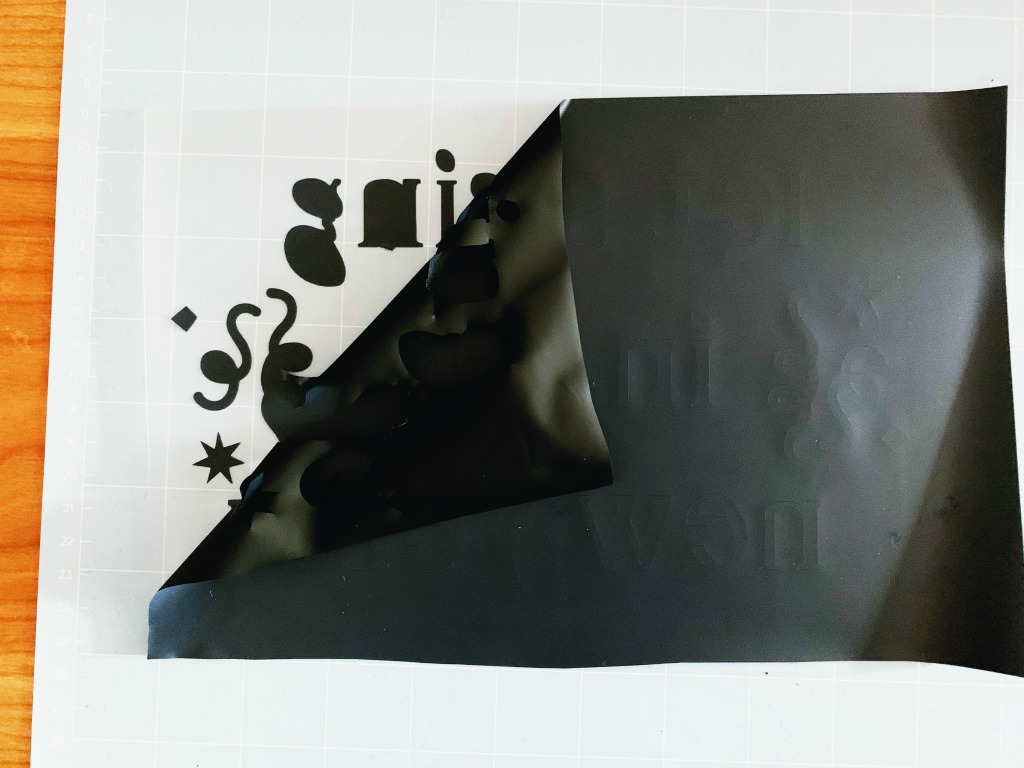
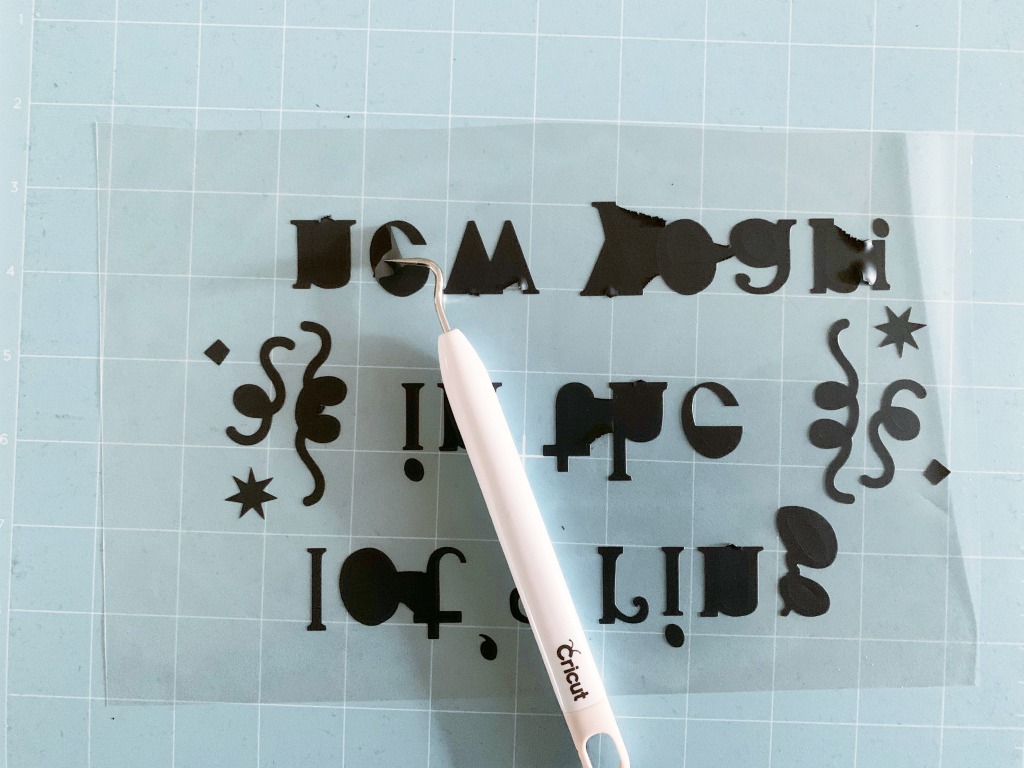
Cut and Weed your Image
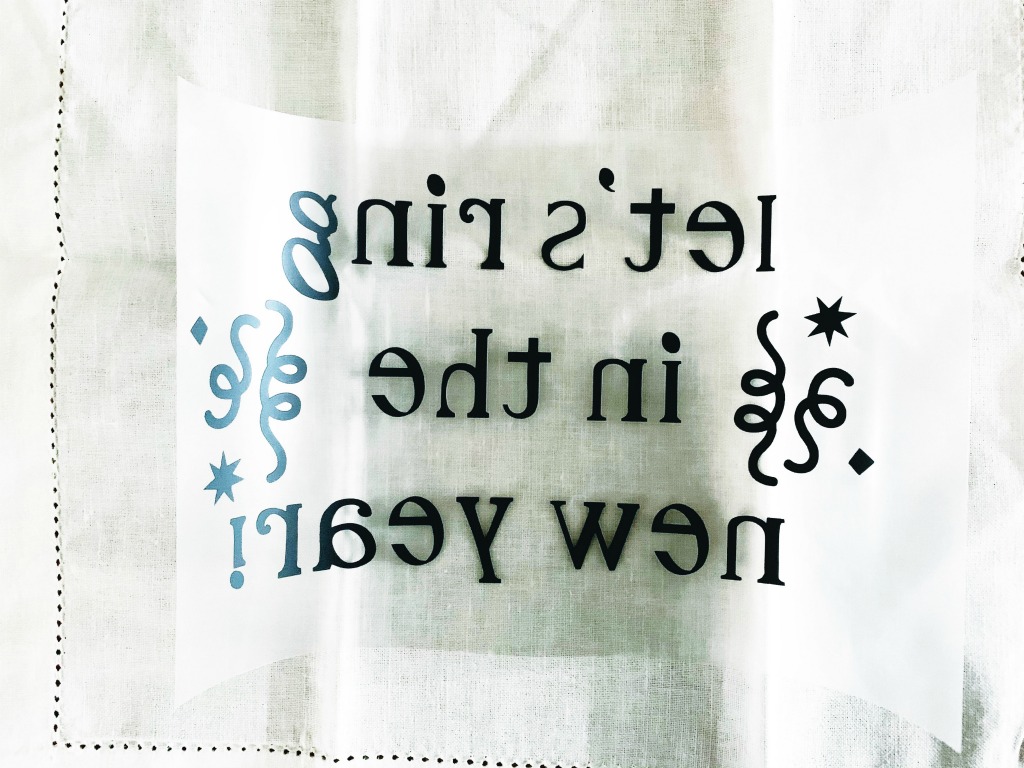
Don’t forget that with iron-on transfers, mirror the image and put the shiny side of the transfer paper DOWN before cutting!)
Transfer your Image onto your Fabric
I fired up my EasyPress2 and warmed the machine up to the “Cotton” setting at 150 C. (I’m Canadian – we use Celsius!). I also set the timer for how long I actually needed to press the iron-on transfer to my fabric – in this case 30 seconds. I took my EasyPress mat (you could use a towel as well) on a hard surface and placed my fabric on top. Then I warmed up the fabric first and applied my iron-on transfer (this time, shiny side up!). I applied pressure with my EasyPress2 for 30 seconds at a time on both sides of the fabric.
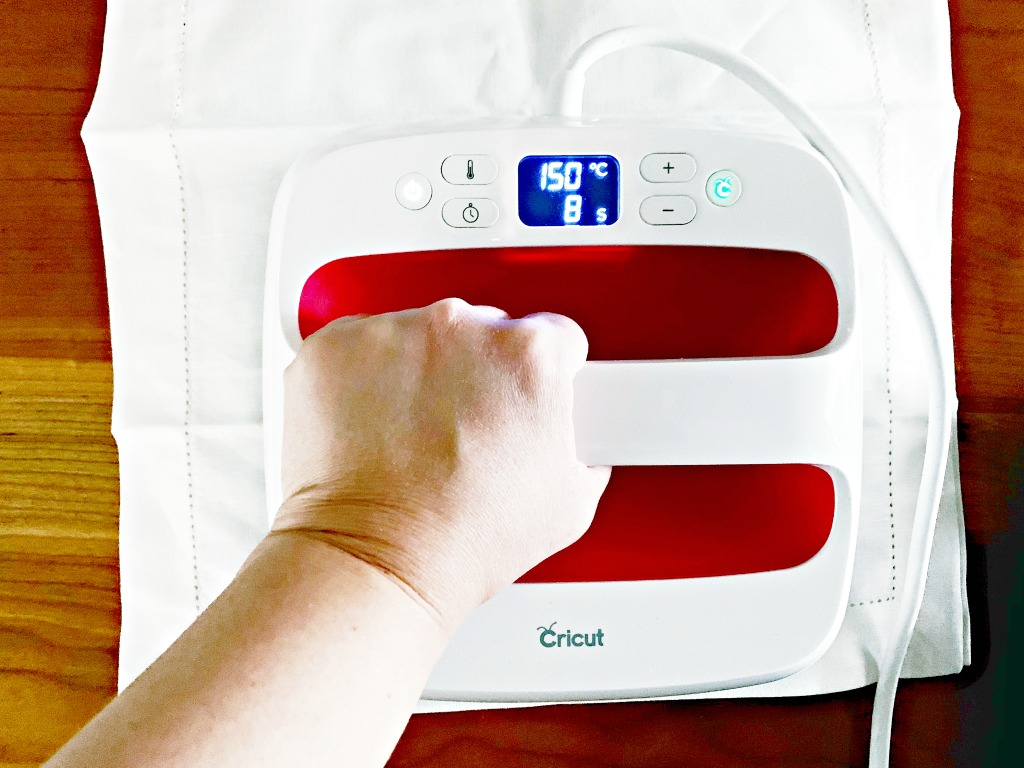
All that’s left is to peel back the plastic film from your iron-on transfer and repeat! (I always get excited seeing the finished product!)
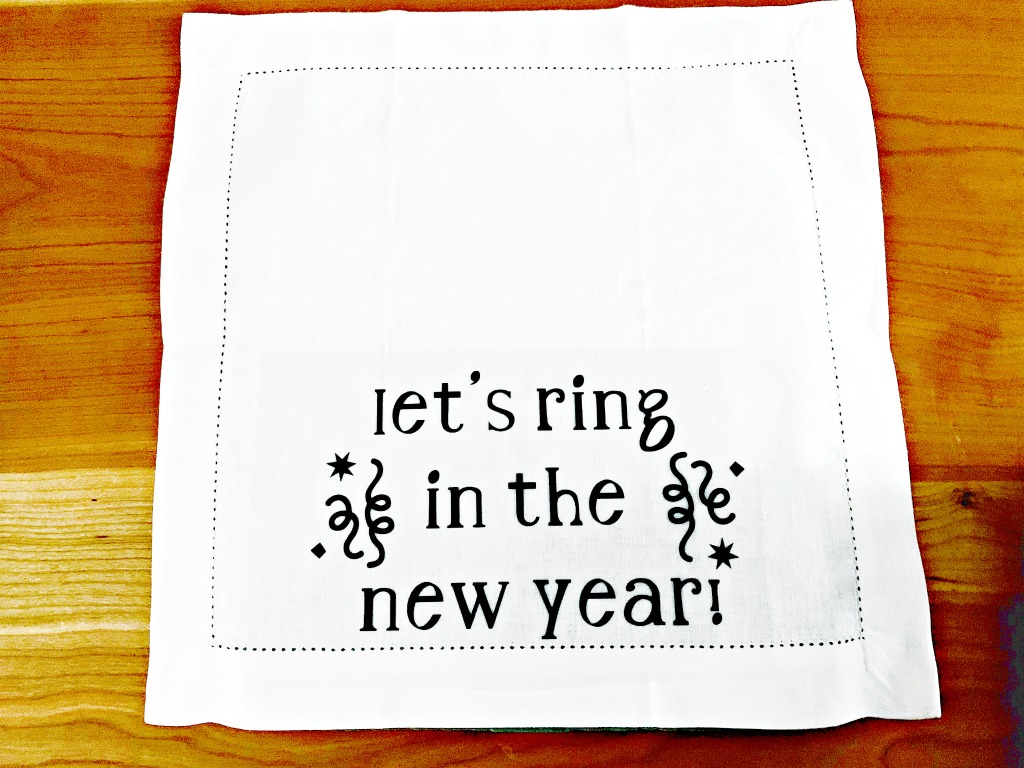
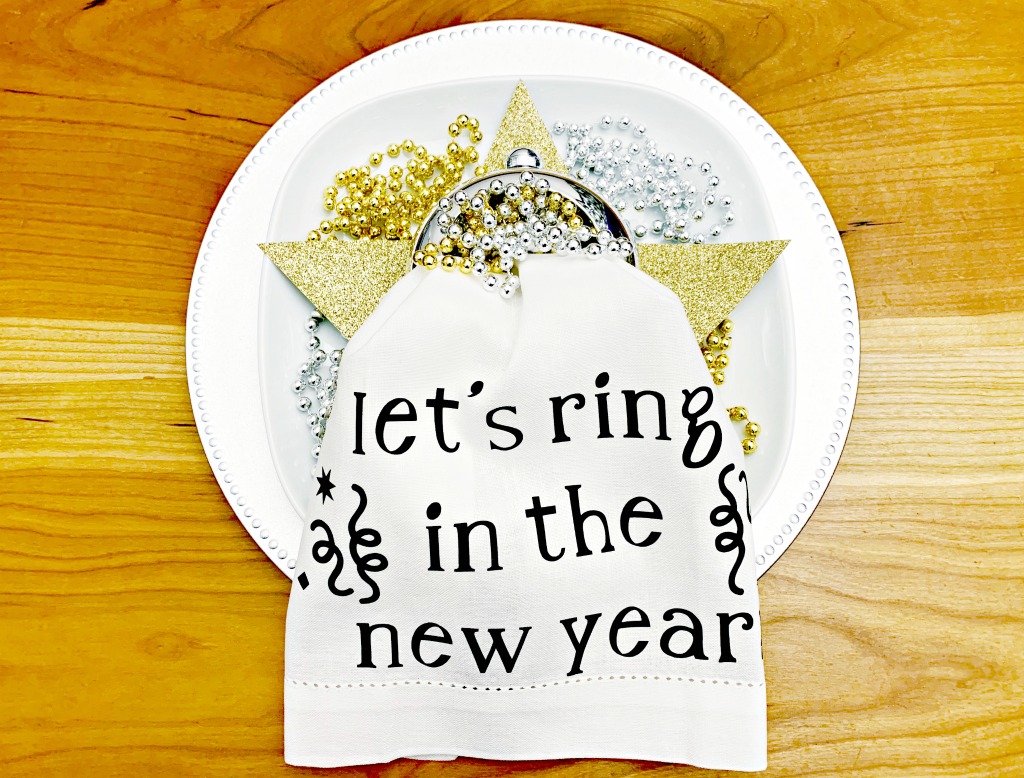
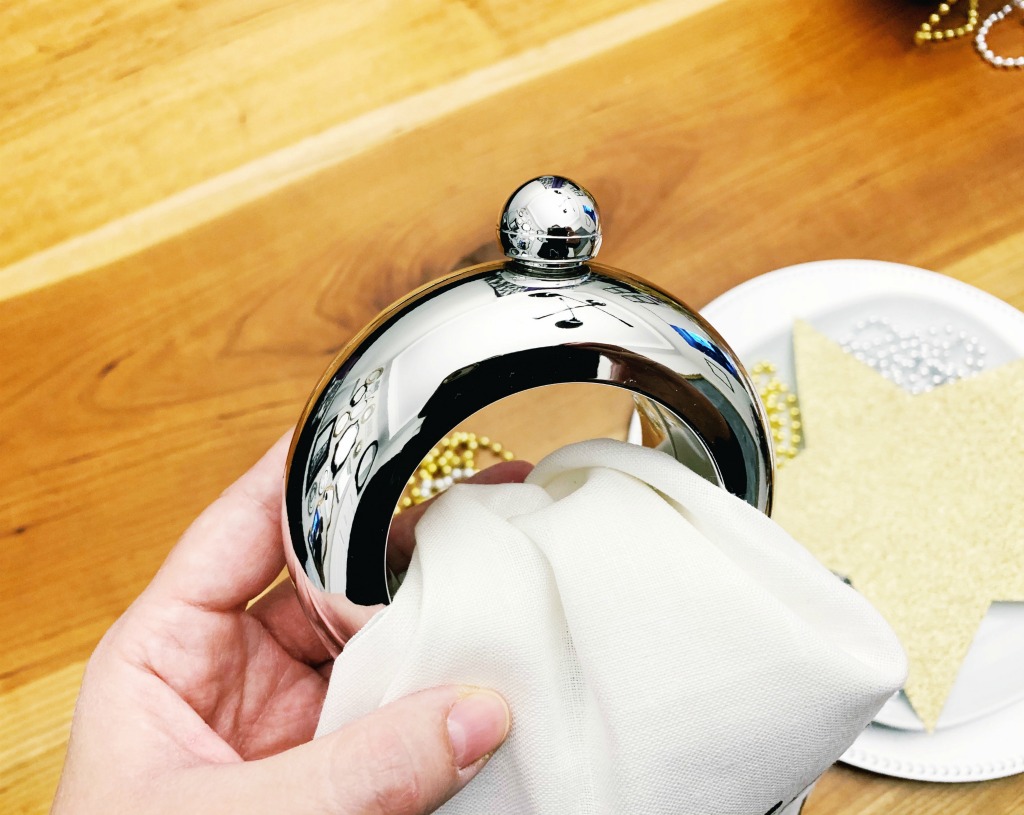
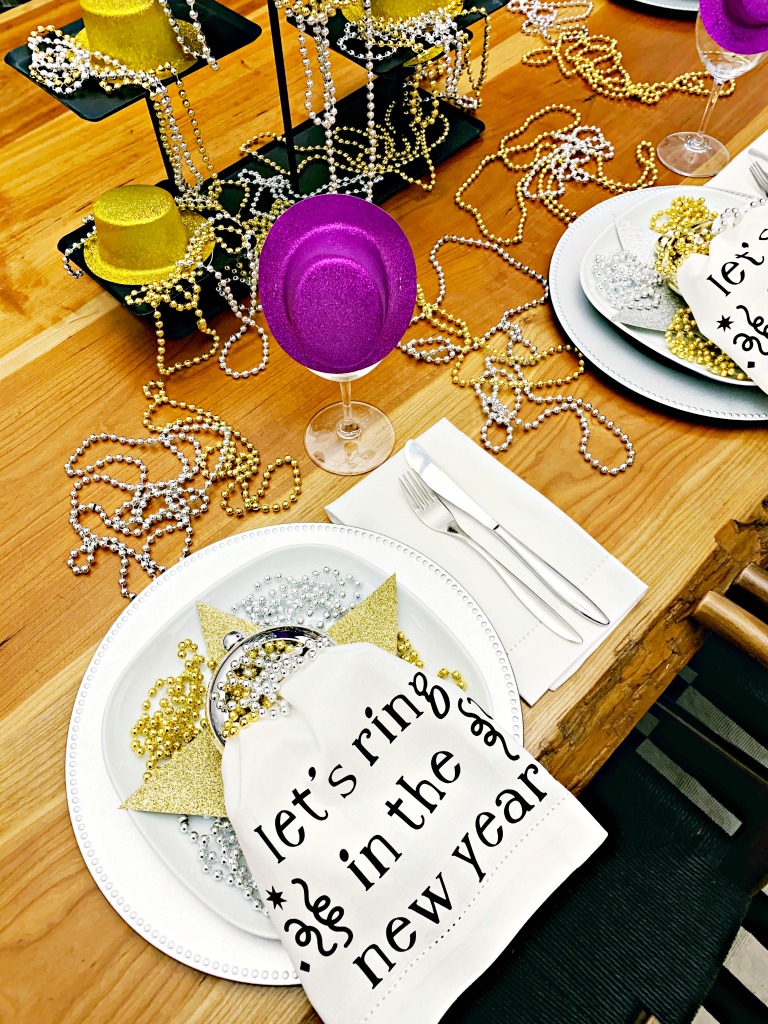
I have to show you what I used as a napkin ring holder – it’s a flask!!! (tee hee)


Xu says
I love the idea, bravo!!!
Lidia says
Thanks so much cherie!! xo
Sarah Tannahill Henriquez says
These look amazing. It’s no wonder you can make these beautiful pieces. Your cricut works miracles.
Lidia says
Thank you so much my friend!! xo